

DIY Shea Butter Hand Lotion Recipe: Luxurious Homemade Hand Cream in 15 Minutes
Pin this recipe for later!
This is the most luxurious, all natural, hand lotion ever! I also use it after the shower, but mix it with a few drops of jojoba or almond oil for wonderful after-shower softness and hydration!
This easy DIY shea butter hand lotion recipe creates a rich lotion using just 4 natural ingredients. Perfect for every day use and strong enough for winter dry skin, this homemade hand lotion is non-greasy, quick-absorbing, and incredibly moisturizing.
Prep Time: 15 minutes
Chill Time: 2-3 hours
Total Time: 3 hours 10 minutes
Yield: As much or as little as you want!
Save on Pinterest: https://pin.it/1shNZ9mYG
Why Make Your Own Hand Lotion?
Simple – you know what is in it AND you can make it any scent you like. You can change the consistency, add different oils or scents, make small batch or make enough to share…Making DIY hand cream at home gives you complete control over ingredients, saves money, and eliminates harsh chemicals found in store-bought lotions. For extra luxury, you can even whip the final product for a light, soft finish!
Benefits of this recipe:
- All-natural ingredients – know what you’re putting on your skin!
- No parabens or synthetics – or anything else you can’t pronounce
- Customizable scent – lavender, frankincense, peppermint, orangy-citrus…you decide!
- Cost-effective – Amazingly cost-effective!
- Deeply moisturizing without greasiness – goes on smooth and shiny and quickly absorbs
Ingredients for Homemade Shea Butter Hand Lotion
The ingredients (recipe) below is for a small batch. I prefer to make it like this…it doesn’t take much time and makes just enough to keep a small container by my bed or on my desk. It lasts about a month. I also recently tripled the recipe and gave small containers for Christmas presents. I’ve made it several times and…I love it!
- 40 grams organic raw shea butter (I use this one for small batches: https://amzn.to/4qk6qJS )
- 14 grams organic jojoba oil (I use this one: https://amzn.to/4sbrTXh)
- 10 drops pure vitamin e oil (I use this one: https://amzn.to/494wVvP)
- 5-10 drops essential oils (I like Frankincense, but use the scent you like: https://amzn.to/4b3w4y2)
Here is my post about using essential oils, including the benefits of 10 of the most popular (and my favorite) scents: https://prioritizecalm.com/the-complete-guide-to-using-essential-oils-in-your-daily-life/
Optional Add-Ins:
- 5-10 grams coconut oil for anti-bacterial and anti-oxidant
- replace some shea butter with cocoa butter (for extra hydration and softness)
Equipment Needed
- Glass, heat resistant dish (bowl or measuring cup)
- Saucepan to warm water bath
- Hand mixer or stand mixer for whipping (I don’t whip the product, but I might try it for gifting)
- Glass jar or container to store final product – small mason jars work well for this
- Kitchen scale with grams…I have this one and use it ALL THE TIME: https://amzn.to/3YfbDGW
Step-by-Step Instructions
Step 1: Melt Your Base Ingredients
Place your heat resistant bowl on the scale and zero out the weight (use the ‘tare’ button). A glass measuring cup works well or if you’re only making a small batch, measure directly into the container that you will store it. Measure your ingredients into your bowl or cup. The shea butter is semi-solid and sometimes a little grainy…that’s okay, it will melt beautifully. Place the bowl of ingredients into a small saucepan. Add water to the saucepan so it is about 1/3 of the way up the side of the bowl. Simmer the water over low heat while stirring the shea butter ingredients.
Stir constantly until completely melted and combined. It will look like a lovely oil. It takes maybe 3-5 minutes, depending on how large of a batch you’ve made and the size of your bowl and saucepan. Use low heat – it doesn’t need to get very hot to melt properly. Once completely melted, remove the pan from the heat and let cool slightly. Carefully remove the bowl from the saucepan…use a potholder, gloves, or tongs as need…don’t burn your fingers!
Step 2: Cool Down
Allow the bowl to cool on the counter for a few minutes then transfer the mixture to its permanent container(s) while still liquid. Cover the container and refrigerate for several hours until the mixture is solid again…the final consistency should resemble softened butter. Cooling quickly in the refrigerator helps prevent graininess, but it can also be cooled on the counter.
Popular essential oil combinations:
Use your favorite essential oils, but go easy when adding…a few drops of most essential oils goes a LONG way. Remember, you can always add more, but it is hard to take away!
- Relaxing: lavender + chamomile
- Uplifting: sweet orange + peppermint
- Healing: tea tree + 7 drops lavender
Step 4: Whip to Perfection (Optional)
This step is optional. I don’t whip mine because it makes the process messier and longer. One thing I really like about this lotion is how quickly it comes together with very little cleanup. Whipping the product will, of course, add to the messy factor and take more time. But, it does make it lighter and softer!
To whip, after your lotion is cooled and solid, use a small motorized whip or hand mixer to whip air into the lotion. Whip the semi-solid mixture on high speed for 3-5 minutes. The lotion will become light, fluffy, and increase in volume. It should look like whipped cream or buttercream frosting.
Pro tip: Scrape down the sides of the bowl occasionally for even whipping.
Step 5: Store Your Hand Lotion
Store your lotion in a glass jar or airtight container. Store at room temperature away from direct sunlight and heat. Mason jars for the win here. You can buy them anywhere, they are easy to heat up and clean easily in between batches!
Shelf life: 3-6 months when stored properly.
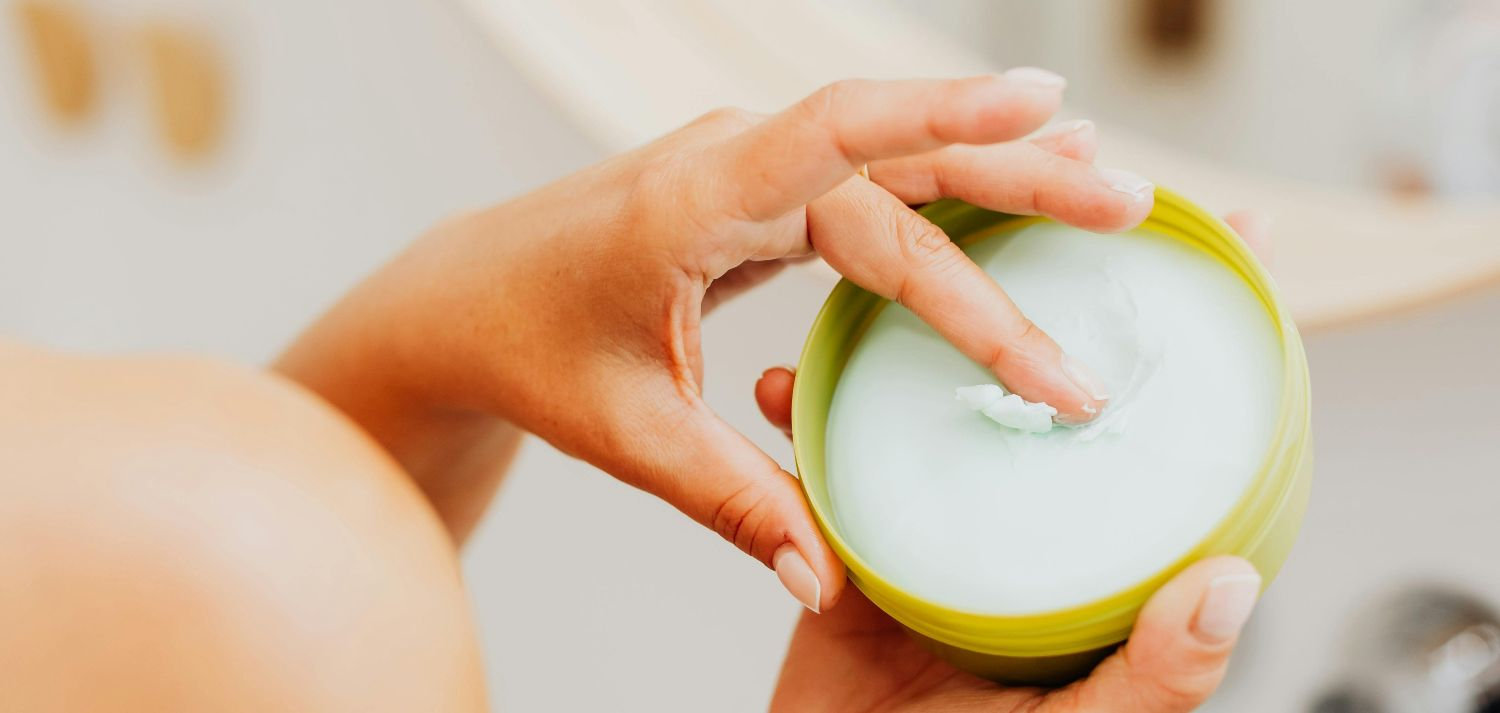
How to Use Your DIY Lotion
Scoop a small amount (smaller than a pea) and rub between your hands. The lotion will melt slightly from your body heat and absorb quickly. Use as often as needed, especially after washing hands or before bed. If I want to use it as body lotion after a shower or bath, I will scoop the small amount and then add a few drops of an after-shower oil blend that I make myself…I’ll post that recipe later…or just use jojoba or almond oil. Adding a small amount of oil makes this easy to smooth over your arms and legs.
Best times to apply:
- After washing dishes or handwashing
- Before bedtime for overnight repair
- After gardening or outdoor activities
- Throughout the day for continuous moisture
Troubleshooting Common Issues
Lotion is too greasy: Reduce coconut oil or increase beeswax slightly next batch.
Lotion is too thick: Add more liquid oils a few grams at a time. You can remelt this as needed if you want to change or correct the consistency or scent.
Lotion separated or became grainy: This can happen if mixture gets too hot when melting or cools too slowly. Remelt and cool down again. If desired, you can also whip the lotion again.
Lotion melted in storage: Store in a cooler location or add a small amount of beeswax for stability in warm climates. This can be stored in the refrigerator…your body temperature is enough to soften it for use.
Gift-Giving Ideas
This DIY shea butter hand lotion makes wonderful homemade gifts for:
- Teacher appreciation
- Holiday gift baskets
- Bridal shower favors
- Mother’s Day presents
- Thank you gifts
Presentation ideas:
- Transfer to small 2-4 oz mason jars. Visit masonjarlifestyle.com (no affiliation…I just like their stuff!) for unique lids or use fabric toppers
- Add custom labels listing the ingredients and scent
- Pair with handmade soap for a complete gift set
- Include a small spoon for scooping
Why These Ingredients Work
Shea butter: Rich in vitamins A and E, provides deep moisture and helps repair damaged skin. Its natural anti-inflammatory properties soothe irritation.
Jojoba oil: Anti-inflammatory. Rich in vitamins B and E and is easily absorbed. Non-comedogenic and gentle.
Essential oils: Provide natural fragrance while offering therapeutic benefits specific to each oil type.
Storage and Safety Tips
- Always use clean, dry hands or a small spatula when scooping lotion
- Keep container tightly sealed when not in use
- Store away from direct heat and sunlight
- Test for allergies by applying small amount to inner wrist first
- Avoid if you have allergies to any of the ingredients
- Not recommended for facial use
Frequently Asked Questions
Can I swap out ingredients?
Yes! This is the exact recipe that I’ve used multiple times. I love it…you may like it thicker, thinner, or you may have a favorite oil. Try it!
How long does homemade hand lotion last?
3-6 months when stored properly. Adding vitamin E oil helps extend shelf life.
Can I use this on my face?
I find this a bit too heavy for facial use, but the ingredients are safe. You can try it. Test first on a small area.
Why did my lotion get grainy?
Graininess occurs when shea butter or coconut oil crystallizes. It can be remelted over and over again. I cool mine in the refrigerator. I’ve read the faster it cools, the less likely it is to be grainy. See what works for you.
Can I double this recipe?
Absolutely! This recipe scales well. Just ensure you are using a large enough bowl when measuring and melting.
Save This Recipe
Pin this DIY shea butter hand lotion recipe to your Pinterest boards for easy reference! Try it today and enjoy luxuriously soft hands with ingredients you control!
Did you make this recipe? Share your results in the comments below and let us know which essential oil blend you chose!
Keywords: DIY hand lotion, shea butter hand cream, homemade hand lotion recipe, natural hand cream, whipped body butter, DIY beauty products, easy hand lotion recipe, moisturizing hand cream, DIY gifts


